
Introduction
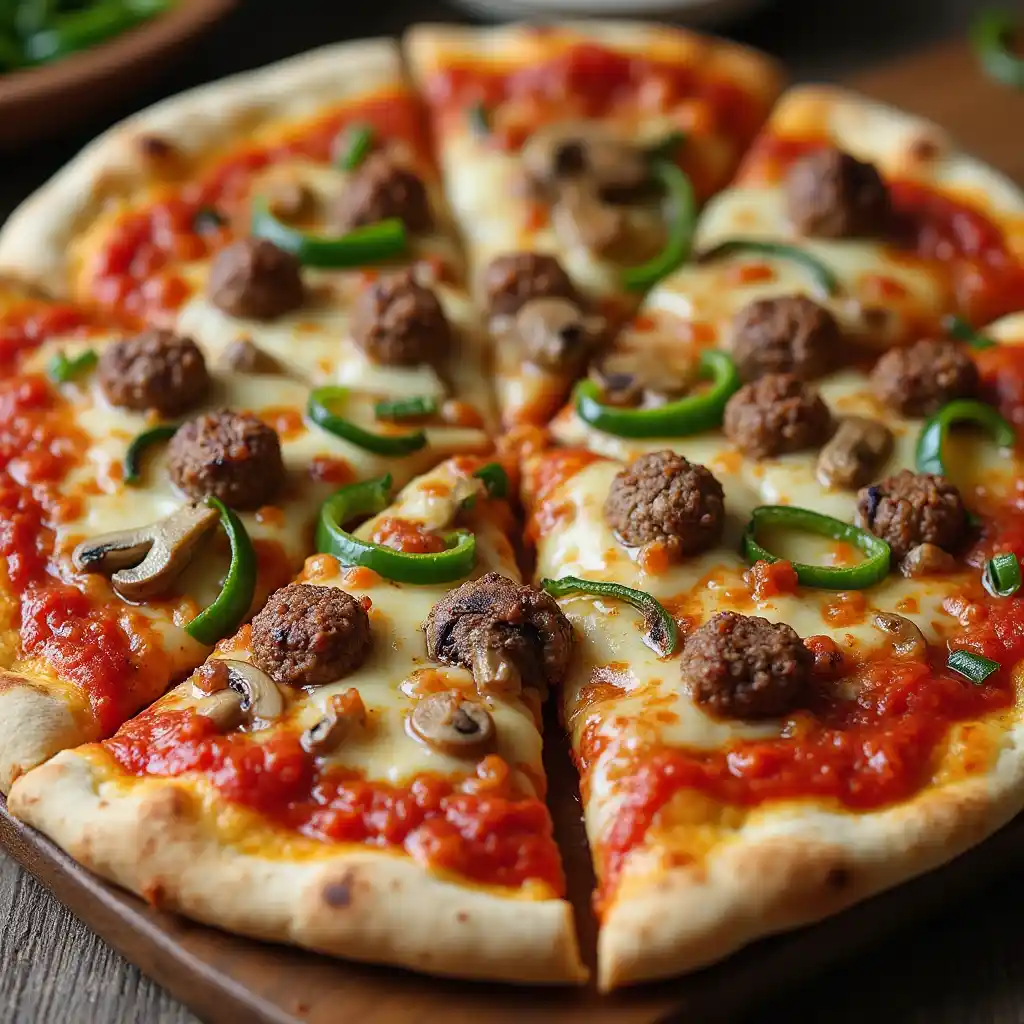
Thin-Crust Pizza Dough is a classic favorite, offering a crispy, foldable base that lets toppings shine without overwhelming the flavor. Homemade dough brings this experience to life, giving you control over ingredients, allowing for customization and offering a cost-effective solution. It’s the perfect base for all types of pizza, from traditional Margherita to more creative options.
Hi! I’m Chef Olivia, a professionally trained chef and lifelong food lover. My culinary journey started in my grandmother’s kitchen, and since then, I’ve honed my skills in kitchens and teaching. Every dish I create blends technique, tradition, and passion just like this recipe.
Table of Contents
Table of Contents
Essential Ingredients for Thin-Crust Pizza Dough
Crafting exceptional thin-crust pizza dough starts with understanding how each ingredient affects texture, flavor, and structure.
Print
Thin-Crust Pizza Dough Recipe
- Total Time: 15 mins
- Yield: 1 12-inch crust
Description
This thin-crust pizza dough recipe is ready to bake in just 15 minutes with deliciously crisp results.
Ingredients
-
1 teaspoon active dry yeast
-
¼ teaspoon white sugar
-
¾ cup lukewarm water
-
2 cups all-purpose flour, divided
-
½ teaspoon salt
Instructions
step 1
Gather all ingredients.
step 2
Dissolve yeast and sugar in warm water that’s 110 degrees F (44 degrees C) in a small bowl. Let stand until yeast softens and begins to form a creamy foam, about 5 to 8 minutes.
step 3
Combine 1 3/4 cups flour and salt in a large bowl. Pour in yeast mixture; mix well until dough comes together.
step 4
Transfer dough to a floured surface and knead until smooth, about 2 minutes. Add remaining 1/4 cup flour if dough is too sticky.
step 5
Roll dough into a 12-inch circle. Transfer to a greased pizza pan.
step 6
Add your favorite toppings, and bake. Enjoy!
Notes
Top crust as desired and bake at 500 degrees F (260 degrees C) until golden, 8 to 10 minutes.
- Prep Time: 10 mins
- Cook Time: 5 mins
- Category: lunch and dinner
- Method: simple
- Cuisine: italy
Nutrition
- Serving Size: 4
- Calories: 232
- Sugar: 0
- Sodium: 0
- Fat: 1g
- Saturated Fat: 0
- Unsaturated Fat: 0
- Trans Fat: 0
- Carbohydrates: 48g
- Fiber: 0
- Protein: 7g
- Cholesterol: 0
Keywords: Olive oil, fat free, baking powder, all purpose flour
Flour Types: Flour is the foundation. All-purpose flour yields a balanced crust, while bread flour creates a chewier bite due to its higher protein. “00” flour, prized in Italian pizza making, delivers a silky, elastic dough ideal for thin-crust styles.
Yeast Varieties: Yeast is responsible for leavening. Active dry yeast needs proofing, instant yeast can be added directly, and fresh yeast offers a subtle flavor and quicker rise.
Liquids: Use warm water (100–110°F) to activate yeast. Correct temperature is key—too hot kills yeast, too cold slows it down.
Fats: Olive oil enriches flavor and helps the dough bake into a golden, crisp crust.
Sweeteners: Sugar or honey nourishes yeast and adds light caramelization during baking.
Salts: Salt enhances flavor, supports gluten development, and regulates yeast activity.
When balanced properly, these ingredients form the ideal base for a delicious thin-crust pizza dough with just the right crisp and chew.
Step-by-Step Dough Preparation
Creating the perfect thin-crust pizza dough requires more than just tossing ingredients together it’s about precision, patience, and proper technique. Follow these essential steps to build a strong, flavorful foundation.
Activating Yeast
Start by dissolving active dry yeast in warm water (100–110°F). Let it sit for 5–10 minutes until frothy this ensures the yeast is alive and ready to work. Skip this step if using instant yeast, which can be mixed directly with dry ingredients. Avoid water that’s too hot, as it can kill the yeast.
Mixing Ingredients
In a large bowl, combine flour and salt first to evenly distribute dry ingredients. Next, add the yeast mixture (or dry yeast), olive oil, and sweetener like honey or sugar. Mix until a rough dough forms. A silicone spatula or wooden spoon works well to bring it together before kneading.
Kneading Process
Kneading develops gluten, essential for structure and elasticity in thin-crust pizza dough. Knead by hand on a floured surface for about 8–10 minutes, or use a stand mixer with a dough hook for 6–7 minutes. The dough should become smooth, elastic, and slightly tacky but not sticky.
First Rise
Place the dough in a lightly oiled bowl, cover with plastic wrap or a damp towel, and let it rise in a warm, draft-free area for 1 to 1.5 hours, or until doubled in size.
Punching Down & Second Rise
After the first rise, gently deflate the dough by pressing down with your knuckles. This redistributes gases and strengthens the gluten. Let the dough rest again for 15–30 minutes before shaping. This second rise helps improve texture and flavor, resulting in a light, crisp crust.
Mastering these steps is key to achieving restaurant-quality thin-crust pizza dough at home.
Rolling and Shaping the Dough
Once your thin-crust pizza dough has rested, it’s time to shape it for baking. Achieving a uniform thinness is crucial for even cooking and a crisp texture. Begin by flouring your work surface and rolling pin. Start from the center and roll outward in all directions, turning the dough frequently to maintain a circular shape.
To prevent shrinkage, let the dough relax for a few minutes after rolling. This allows the gluten to loosen and makes it easier to stretch without snapping back.
You can shape the dough using a rolling pin for precision, your hands for a rustic look, or a dough sheeter for professional consistency. Regardless of the method, aim for a thickness of 1/8 inch or less.
When transferring the dough to your baking surface—such as a pizza stone or pan—use parchment paper or a dusting of cornmeal to prevent sticking and preserve the perfect shape of your thin-crust pizza dough.
Pre-Baking Preparations
To achieve a crisp, bubble-free thin-crust pizza dough, proper pre-baking prep is essential. Start by docking the dough—gently prick the surface with a fork. This releases trapped air during baking and prevents unsightly bubbles from forming, especially in a hot oven.
Par-baking, or partially baking the crust before adding toppings, is another key step when using wetter sauces or heavier ingredients. Bake the shaped dough for 4–5 minutes at 475°F (245°C) until it just begins to firm up but doesn’t brown. This prevents sogginess and ensures a crisp base.
To make transferring the dough to the oven seamless and avoid sticking, use parchment paper or sprinkle cornmeal on your baking peel or tray. Parchment allows easy slide-off onto a hot stone or steel, while cornmeal adds a slightly crunchy texture to the bottom.
These simple techniques can dramatically elevate your thin-crust pizza dough and final results.
Baking Techniques for Optimal Crispiness
Getting that signature crunch in thin-crust pizza dough comes down to baking technique. First and foremost: temperature matters. Preheat your oven to a high heat—ideally between 475°F and 500°F (245–260°C). A properly preheated oven helps the dough crisp quickly before moisture from toppings can soak in.
Choosing the right baking surface can make all the difference. A pizza stone or baking steel retains intense heat and mimics the effect of a traditional brick oven, giving your crust a beautifully crisp bottom. Preheat the stone or steel in the oven for at least 30 minutes. If you’re using a pizza pan, opt for a perforated one to allow airflow and even cooking.
Rack position also plays a role. Bake on the lowest rack to maximize crust contact with the heat source, which enhances browning and crispiness.
Keep an eye on your pizza as it bakes. Bake time usually ranges from 8 to 12 minutes, depending on thickness and toppings. Signs of doneness include golden-brown edges, bubbling cheese, and a firm, dry crust underside.
With the right heat, tools, and timing, your thin-crust pizza dough will deliver restaurant-quality crispiness every time.
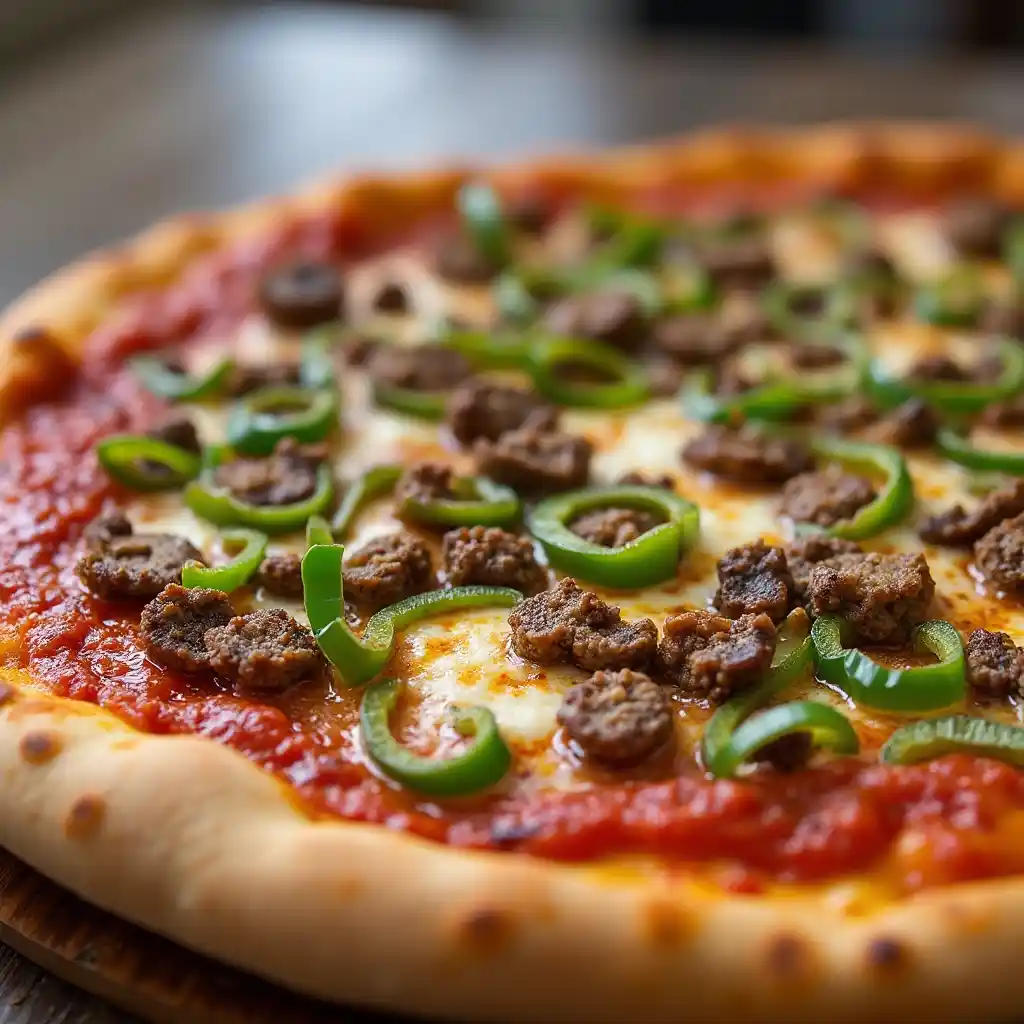
Topping Strategies for Thin-Crust Pizza
Toppings can make or break your thin-crust pizza dough, especially since a thinner base is more prone to becoming soggy. Start with the sauce use a light hand, spreading a thin, even layer with the back of a spoon. Too much sauce weighs down the dough and prevents crisping.
When it comes to cheese, opt for low-moisture mozzarella for a classic melt without excess water. While fresh mozzarella offers great flavor, it can release moisture during baking—use it sparingly or blot before adding.
Distribute toppings evenly and avoid overloading. A balanced layer allows the crust to bake properly and ensures every bite gets a mix of flavors.
For moisture-heavy or dense ingredients like mushrooms, sausage, or spinach, consider pre-cooking toppings. This removes excess water and enhances flavor without compromising the crust’s texture.
Smart topping strategies will help your thin-crust pizza dough bake up light, crisp, and perfectly balanced.
Common Mistakes and How to Avoid Them
Even seasoned home cooks can run into issues when working with thin-crust pizza dough. One of the most common mistakes is overloading with toppings. Too many ingredients—especially wet ones—can lead to a soggy, undercooked crust. Stick to a few flavorful toppings applied sparingly for best results.
Using cold dough is another frequent error. Dough straight from the fridge is stiff and hard to stretch, often tearing or shrinking back. Let your dough rest at room temperature for 30–60 minutes before shaping.
Skipping preheating the oven—or your pizza stone/steel—is a surefire way to end up with a limp crust. Always preheat your baking surface for at least 30 minutes at a high temperature to ensure proper crisping.
Lastly, not measuring ingredients accurately can throw off hydration and gluten development. Use a kitchen scale for precision to create consistent, professional-quality thin-crust pizza dough every time.
Variations of Thin-Crust Pizza Dough
While traditional thin-crust pizza dough is a classic, there are several creative and dietary-friendly variations you can try to suit different preferences and needs.
Whole Wheat Version
Swap up to 50% of the all-purpose or bread flour with whole wheat flour for a healthier alternative. It adds a nutty flavor and more fiber. Since whole wheat absorbs more water, you may need to slightly increase hydration and allow extra rising time for a tender texture.
Gluten-Free Option
A gluten-free version of thin-crust pizza dough can be made using a blend of rice flour, tapioca starch, and xanthan gum. These doughs often require different hydration levels and may be stickier, so use parchment paper when shaping and baking for easy handling.
Herb-Infused Dough
Elevate your dough by mixing in dried or finely chopped fresh herbs like rosemary, oregano, basil, or garlic powder during the mixing stage. This adds aromatic flavor throughout the crust and pairs well with simple toppings.
No-Yeast Quick Dough
For a fast, yeast-free option, combine flour, baking powder, olive oil, and water. This quick dough doesn’t need rising time, making it ideal for last-minute pizza cravings, though it won’t have the same complex flavor as yeasted dough.
Conclusion: Mastering the Art of Thin-Crust Pizza
Mastering thin-crust pizza dough is a rewarding journey that blends science, technique, and creativity. Don’t be afraid to experiment with different flours, rising times, and toppings to discover what works best for your taste. Remember, practice is key each batch teaches you something new and brings you closer to pizza perfection. Whether you stick to the classic recipe or explore variations, your homemade thin crust will improve with time. We invite you to share your experiences, tips, and favorite twists, helping others on their path to crafting the perfect thin-crust pizza.
For More Recipes Follow me in FACEBOOK and PINTEREST .
FAQs
What is the secret to thin crust pizza?
The secret lies in using the right flour (like bread or “00” flour), rolling the dough evenly thin, and baking at a very high temperature on a preheated stone or steel. Proper hydration, minimal toppings, and par-baking also help achieve that crispy, light texture.
Is thin crust pizza dough different than regular pizza dough?
Yes, thin-crust pizza dough typically has a lower hydration level and is rolled thinner than regular or thick-crust dough. It may also have slight variations in yeast and resting times to create a crispier, less chewy base.
How to make thin pizza crust dough?
Make a dough with high-protein flour, yeast, warm water, olive oil, salt, and a small amount of sugar. Knead well, allow for adequate rising, then roll out very thin before baking at a high temperature for a short time.
How long to let pizza dough rise for thin crust?
For thin crust, let the dough rise about 1 to 1.5 hours or until doubled in size. Some recipes recommend a second short rise (15–30 minutes) after punching down to improve texture and elasticity.
1 thought on “Perfect Thin-Crust Pizza Dough Recipe: Easy & Crispy”
Comments are closed.